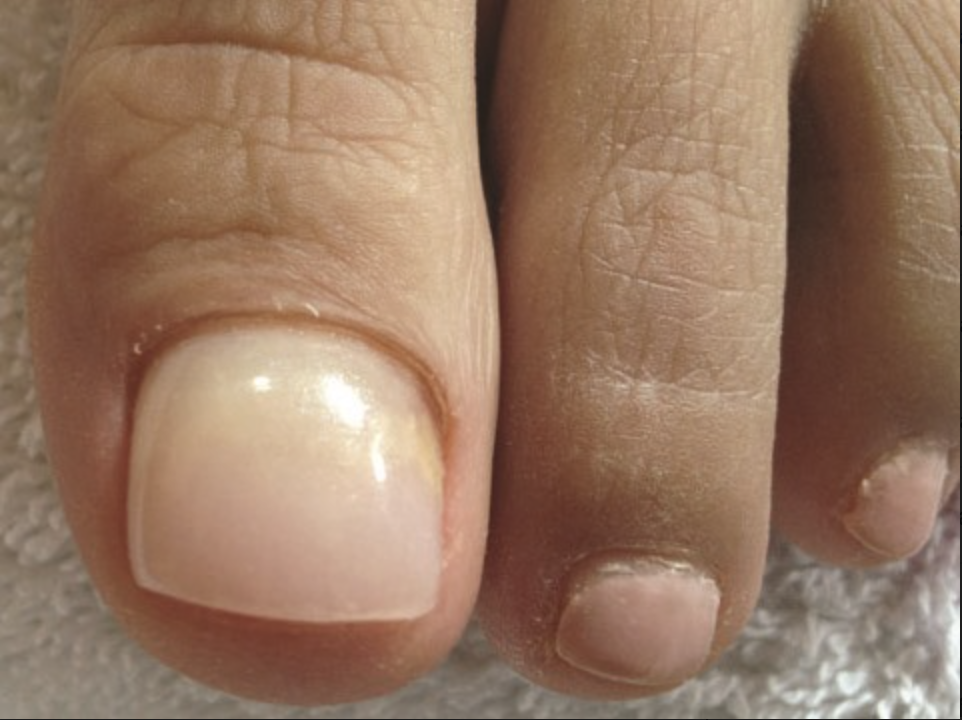
How the Painless KeryFlex Process Works
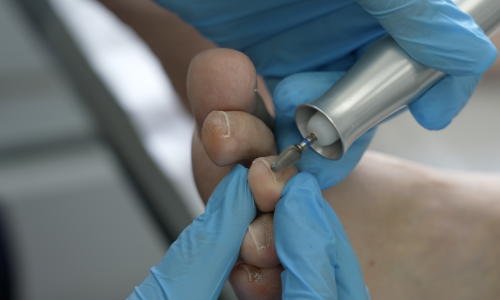
Preparation
The affected nail is first cleaned and prepared by removing any debris or loose material from the surface.
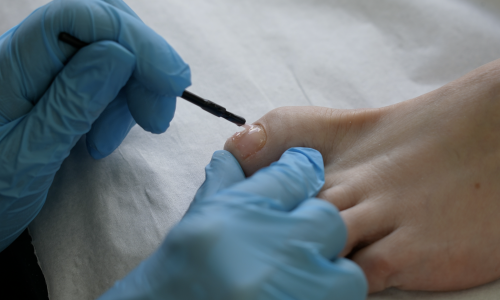
Synthetic Resin Applied
The KeryFlex resin is then applied to the surface of the nail using a brush, and is molded to the shape of the natural nail.
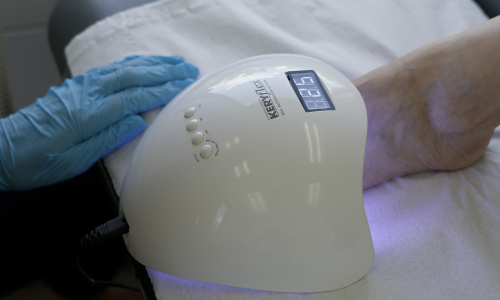
Curing with UV light
The resin is then cured with a special UV light, which hardens the material and creates a durable and flexible coating.
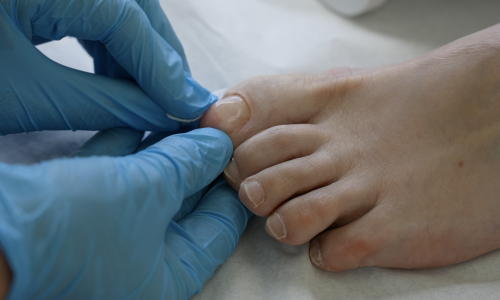
Perfect Looking Nail
Once the resin is cured, it is filed and buffed to create a smooth and natural-looking finish. It can also be painted with regular nail polish if desired.


